TX7100
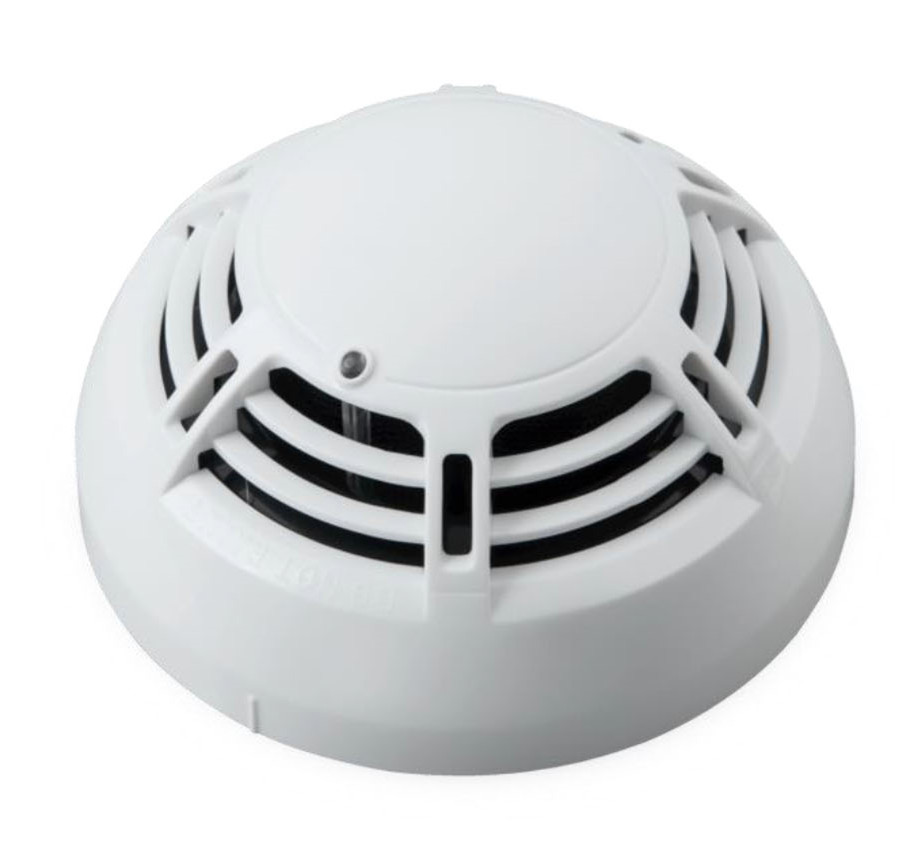
Intelligent Addressable Smoke Detector

Overview
The TANDA Detectors manufactured the sensitivity requirement of EN 54, European Standard. The unit is aesthetically pleasing with unobtrusive design that will complement modern building designs. The unit incorporates an intelligent processor that provides Algorithm map, inbuilt A/D converter, Drift compensation, and Self-Diagnosis and History log. Secure and speedy communication through the on-board processor enables the detector to make its own decision, resulting in greater automation. The TX7100 detector is compatible to the TX7004 Analogue Intelligent Fire Alarm Control Panel, produced by single manufacture T&A, to avoid addressable communication compatibility problem.
1 Feature and Benefits
- EN54-7 Compliance
- Using microprocessor technology with memory capacity up to 10 events
- Analogue sending and digital addressing
- Provide real time algorithm to the control panel
- Smart linear drift compensation
- Onsite adjustable parameter
- 360 degree visual indicator
- Removable chamber against dust and small insect
- Ancillary remote indicator output
- Aesthetically pleasing design
2Technical Specification
|
Listed |
LPCB Pending |
|
|
Compliance |
EN54-7 |
|
|
Input Voltage |
24VDC [16V to 28V] |
|
|
Current Consumption |
Standby |
0.6mA, |
|
|
Alarm: 4mA |
|
|
Protocol/Addressing |
TNA, Value range from 1 to 254 |
|
|
Sensitivity |
As per stipulated standard |
|
|
Indicator |
Single LED / 360 degree Visual |
|
|
Material / Colour |
ABS / White Glossy finishing |
|
|
Dimension / Height |
Diameter 99.7 mm / 57 mm |
|
|
Weight |
145g (with Base), 90g (without Base) |
|
|
Operating Temperature |
-10°C to +50°C |
|
|
Humidity |
0 to 95% Relative Humidity, Non condensing |
|
3 Clean
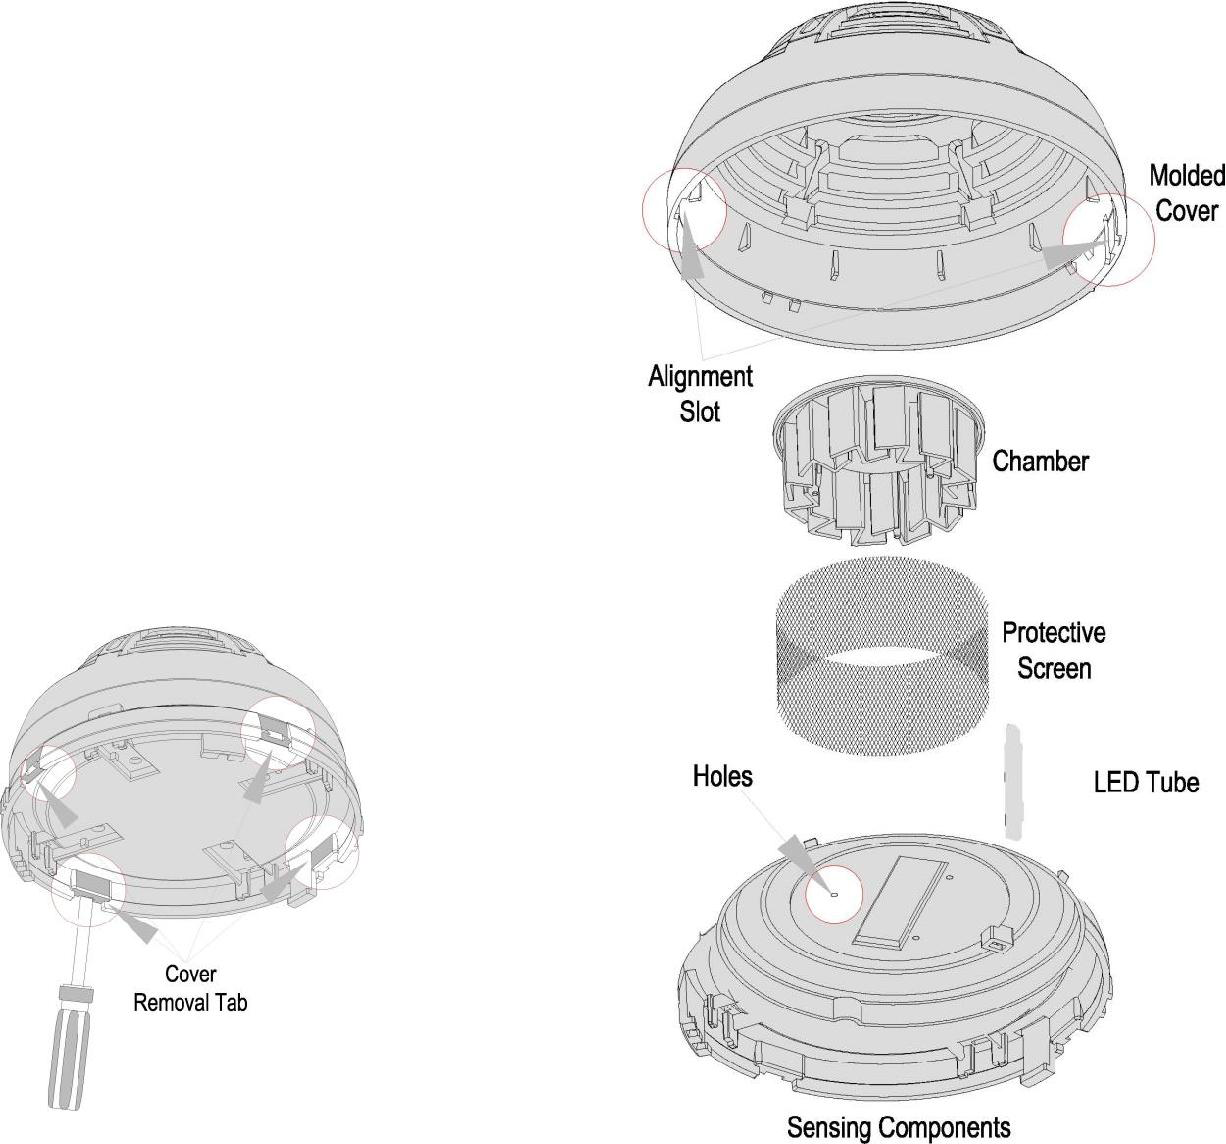
1.Remove the detector cover by snooping away the four sides tabs using a flat screw driver and then pulling the cover from the base.
2.Remove the protective screen by pulling it straight out.
3.Carefully vacuum the chamber and screen. If there is stain, wash with running water and ensure it is completely dry.
4.Position the chamber and screen by aligning three tiny holes over the sensing component.
5.Align the LED tube and tabs and gently pushing the cover until it locks into place.
6.Re-install and test the detector.


